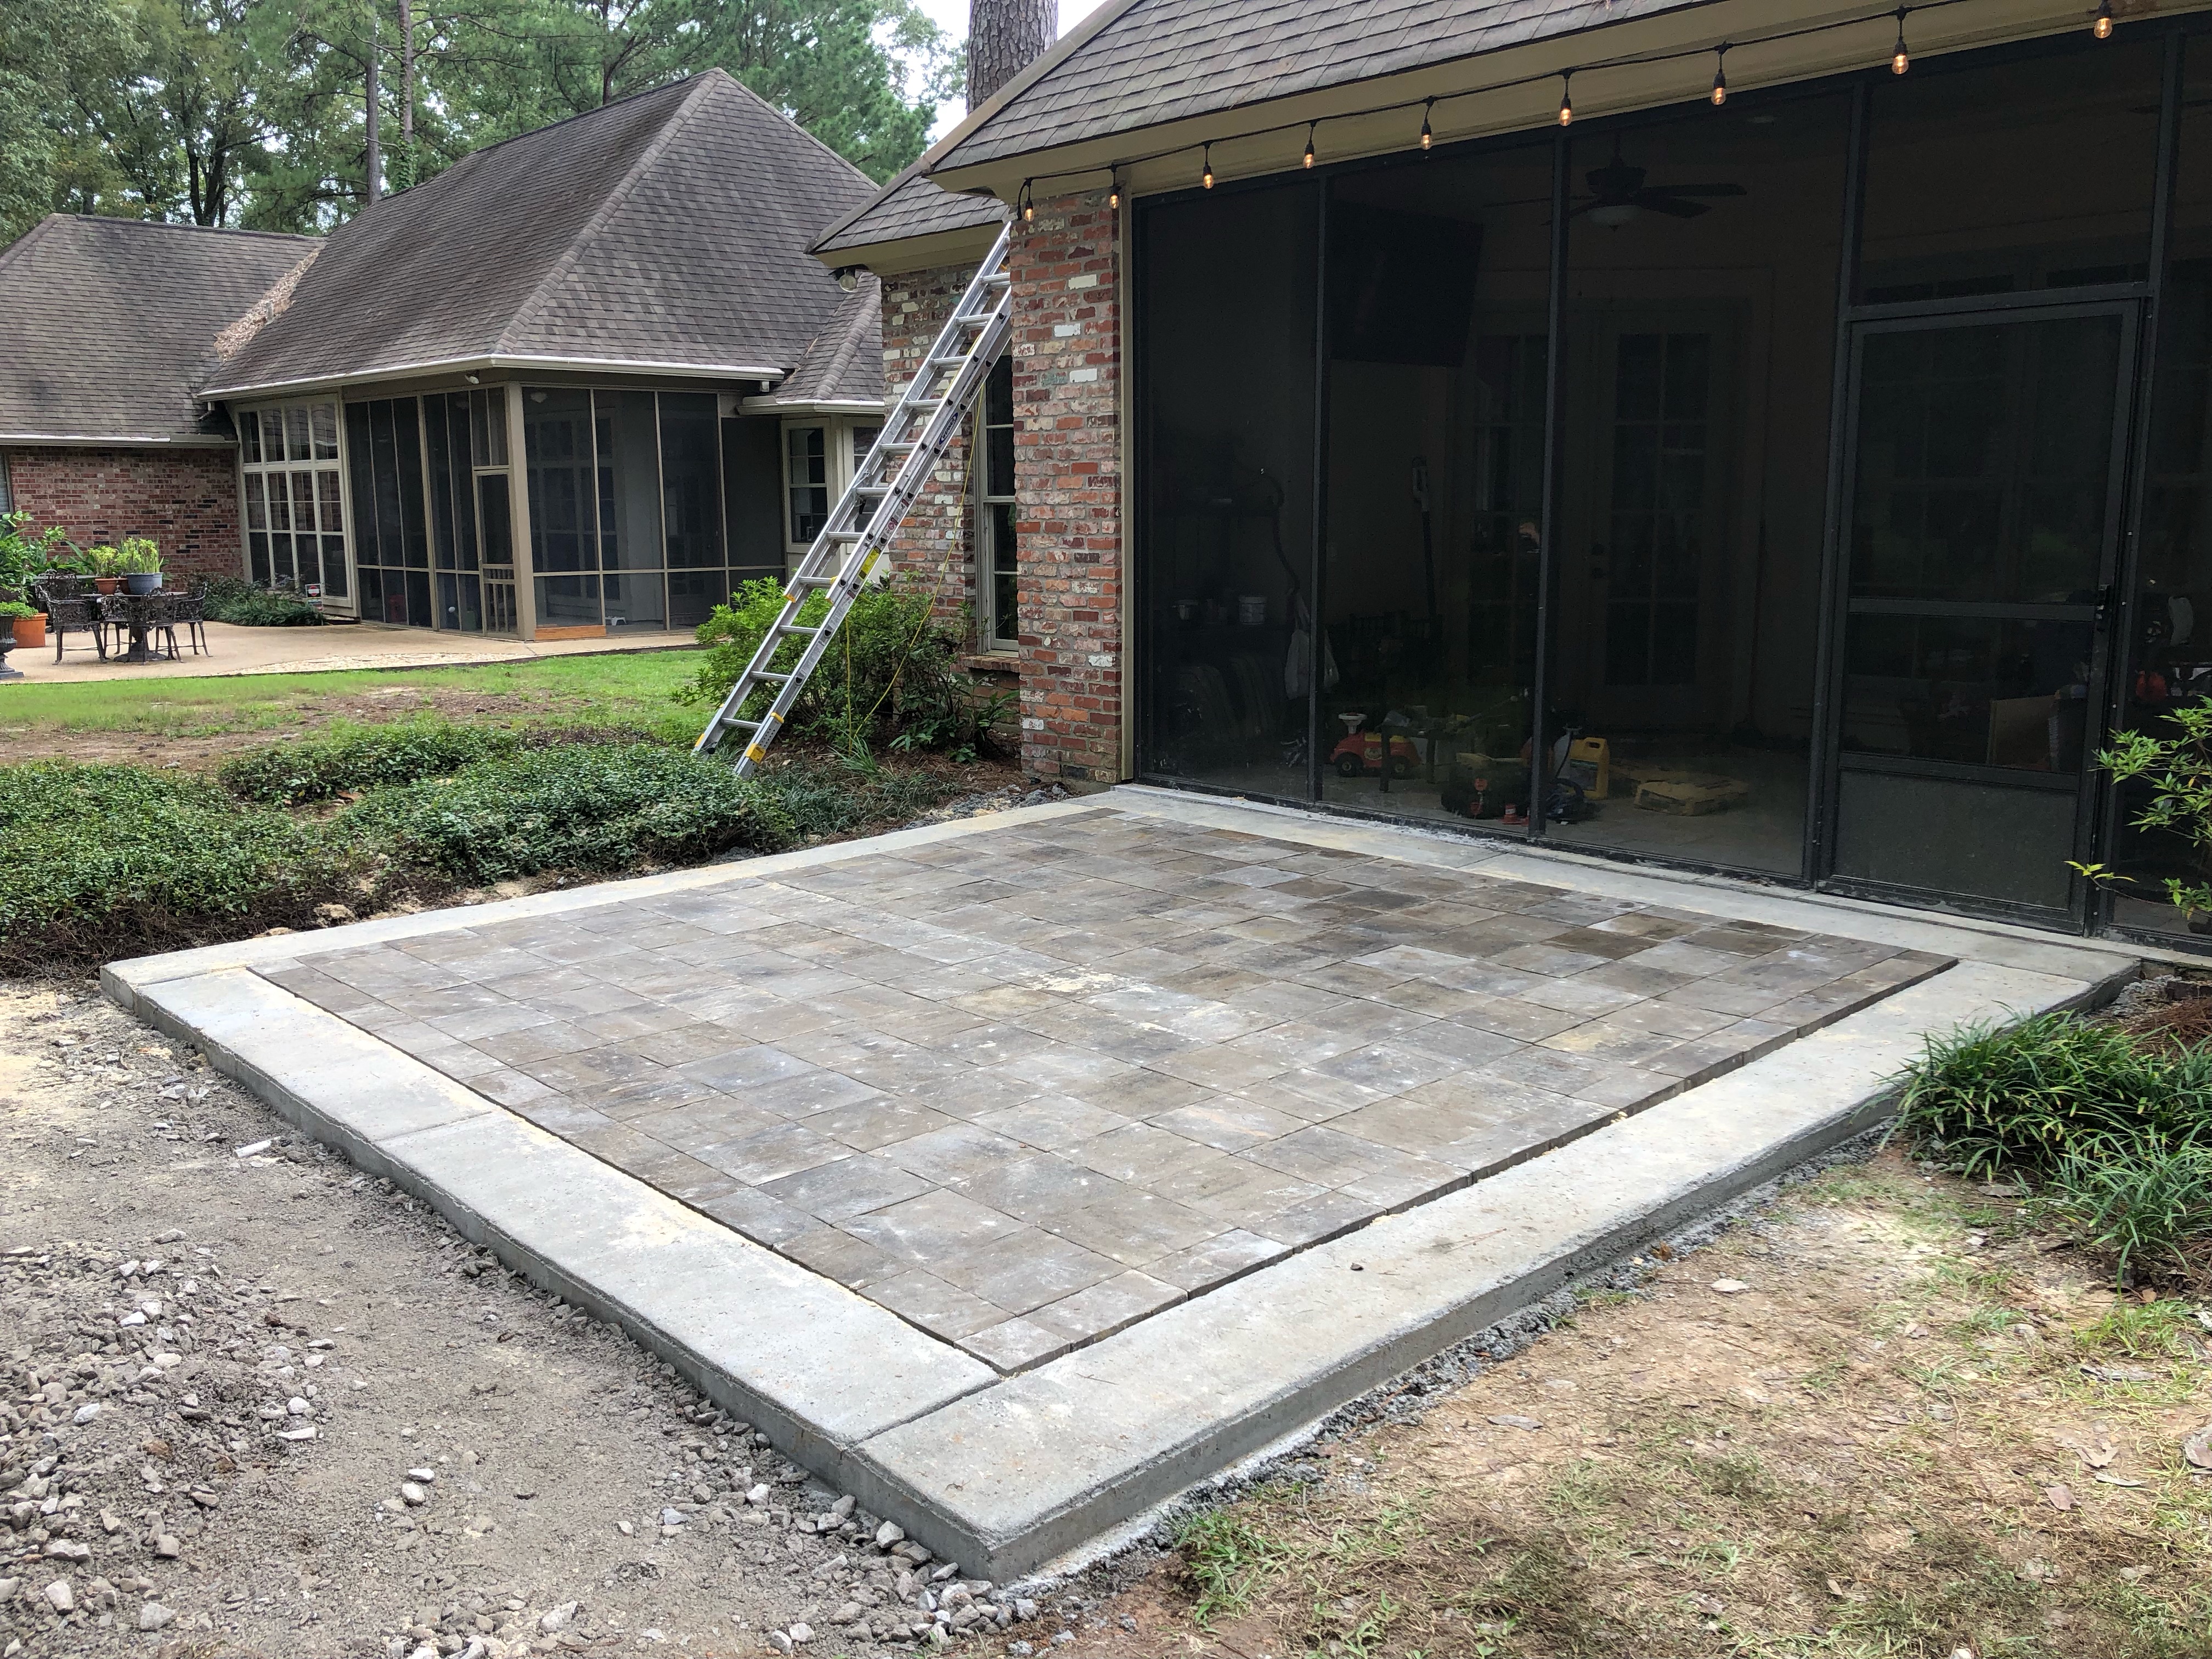
And just in time. My brother’s return flight to Seattle has loomed on the calendar, along with the daily weather forecasts. We have been most fortunate, keeping on track with the former while dealing with the latter. The photo above shows the basic work done: poured concrete edging well set; foundation for pavers put in; and the pavers themselves set in place. Two further photos may help show how this was far from a simple process.

Here we see the packed gravel foundation for the patio, with sand above it, between the concrete edge surround on the left, and a wooden frame on the right. Below is a photo of an ingenious wooden framing-tool my brother created, which first helped us level the gravel, and then assisted us to achieve a level, packed sand surface for the pavers.

Careful attention to two things at this point made a huge difference. The first was to attending to old fashioned geometry – making sure everything was square. Because if we were not attentive to this point from the placing of the first square, all else would have been difficult and possibly compromised.

Also critical at this stage was leveling the sand, assisted by hand-holds of sand, a shovel, and a very handy 6″ spackle blade. With my brother’s home-made framing tool (depicted above), laying the pavers on a flat but slightly sloped surface was (as some might say, perhaps wrongly) ‘a piece of cake!’

Here we are after the first few rows. We did all of them in about 5-6 hours. Though we have some edging work left to do, and putting some very fine sand between the pavers, as well as between them and the concrete edging, we have essentially achieved our goal.

Here is how it looked before we started!

Wow…great work!
>